Patio doors can flood a home with natural light and provide stunning views of the outdoors, but when the glass in a patio door breaks, it must be replaced. A patio door with shattered or cracked glass appears to be extremely tough to replace. However, with the appropriate instructions, repairing shattered glass in a patio door is simple. You don’t have to hire somebody because it’s something you can accomplish yourself. Replace shattered glass in a patio door with these easy steps and you’ll be able to enjoy your outdoor view from your house in no time.
How to Replace Broken Glass in a Patio Door in 3 Easy Steps
- Gloves, a hammer, a pry bar, a putty knife, measuring tape, a permanent marker, replacement glass, a glass cutter, and caulk are the tools you’ll need to successfully replace broken glass in a patio door. To replace shattered glass, there is no need to remove the entire door, but always use gloves to avoid wounds from the glass.
- Remove the trim around the broken glass with a putty knife, small pry bar, and hammer. Set this aside in a safe location until it’s time to install it. Remove any remaining nails from the trim.
- Remove the broken glass from the aperture and remove any glass particles attached to the original caulk using the putty knife.
- Take measurements from left to right and top to bottom of the empty opening and subtract 14 inch from both. The size of your new glass item will be determined by this.
- Place your new piece of glass on a large enough surface to accommodate it. Mark your cutting measurements with a permanent marker and a straight edge against the marks. Gently scribe across the line with the glass cutter, forming multiple soft lines. Make multiple deep cuts rather than a single deep cut, as this will cause the glass to shatter.
- Apply a little amount of transparent silicone caulk around the edges of the glass aperture. Place the glass into the caulk slowly and carefully. After that, run a line of caulk over the inside corners of the glass that has been inserted. You can now use the same size nails and nail holes to replace the trim.
Replace a Patio Door’s Broken Glass on Your Own
To replace shattered glass in a patio door and repair it yourself, follow these simple five steps. It’s simple to replace shattered glass in a patio door yourself, and Galron Sliding Doors supplies the tools you’ll need. Galron Sliding Doors has all of your tools and new glass at a reasonable price. Don’t worry about replacing the entire door or paying someone to replace your broken glass; you can fix it yourself.
Sliding patio doors provide easy access to the outside as well as an abundance of natural light inside. However, because of the placement, a stray ball or stone might easily break the glass, which must be replaced as soon as possible if it is broken. You can hire a glazier, but it will be far less expensive if you do it yourself. It’s not nearly as difficult as you may think! It can actually be finished in a couple of hours, including clean-up.
Step 1: trim
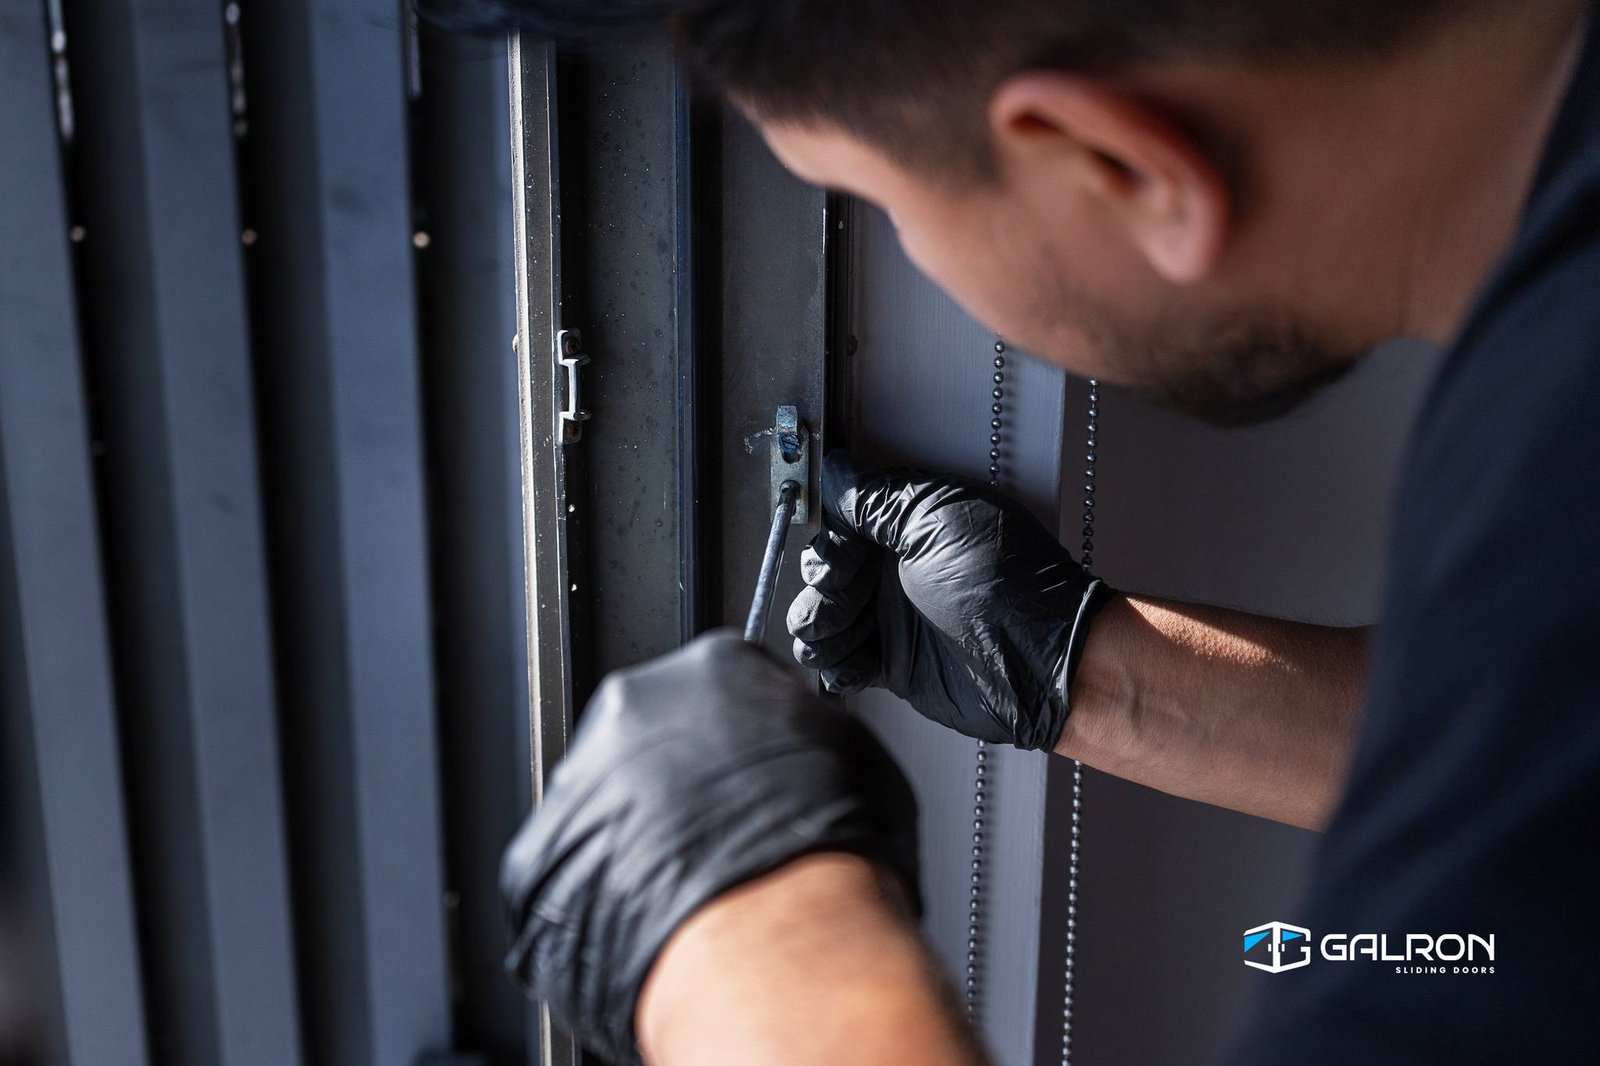
Replacing the glass on sliding patio doors does not necessitate the removal of the complete door; it is possible to do so while the door is still in place. The first step is to remove the mull, which is the trim that surrounds the glass. Slide a putty knife between the trim and the door, then pry it off with a tiny pry bar and hammer. As you work, be careful not to bend or break the trim, and wear gloves and long-sleeved clothing to protect your hands from broken glass, which is an obvious threat.
Step 2: Take Out the Glass
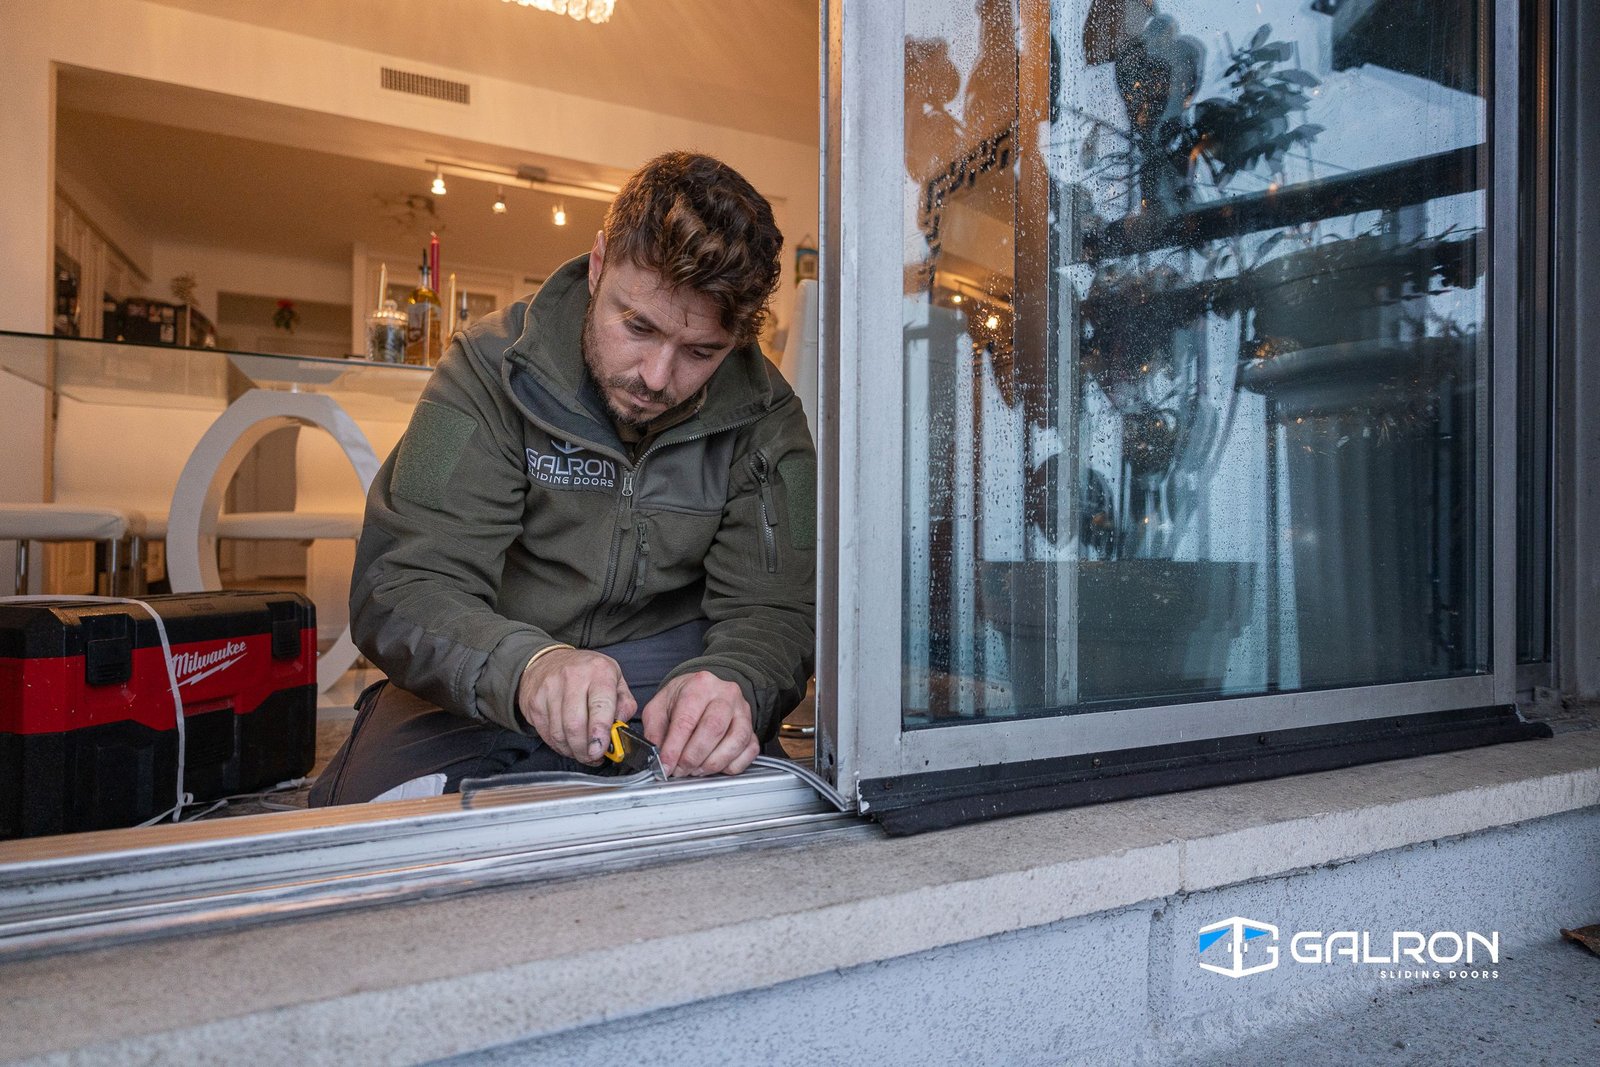
You can now remove the glass fragments once those pieces have been removed. Take as many as you can. Some parts will inevitably remain glued to the frame; remove these with the putty knife before removing the caulk around the trim.
Step 3: Get a new pair of glasses.
To assess the size of replacement glass for your doors, you’ll need to use a tape measure. To determine the size to buy, measure the height and breadth of the opening and subtract roughly a quarter of an inch from each measurement. Any glass shop should be able to cut a panel to your specifications. If possible, have them deliver the glass too, as it won’t fit in a car and they will know how best to pack it to protect it from damage.
Step 4: Fitting the Glass
Examine the glass when it arrives. You’ll need to trim the edges if they aren’t perfectly straight. Use a straight edge and gently scribe where needed with a glass cutter. Don’t try to make deep cuts, as these can break the new glass. Finally, check the measurements and the edges one more time to be certain that everything is straight and that the glass will fit the opening.
Put a bead of caulk around the inside of the frame. Gently ease the glass into place and then put another thin bead of caulk on top of the glass. This will hold it against the trim. If the glass is large and bulky, have a friend or two help you install it.
Step 5 – Replacing Trim
Take the trim you’ve removed and start pushing it back into place, beginning at one corner and moving around the edge a little at a time. When it’s properly positioned, you can make it secure with tacks down into the door.
To finish, you’ll need to remove any of the caulk that might have been squeezed out. Gently scrape it up with a putty knife and then clean the glass of the sliding patio doors with glass cleaner. After completing the inside, go outside and repeat.


