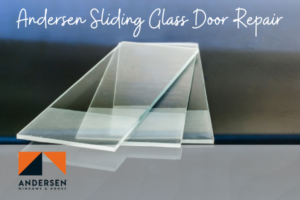
Galron Sliding Door provides the best sliding glass door repair for Andersen sliding glass. You can call at
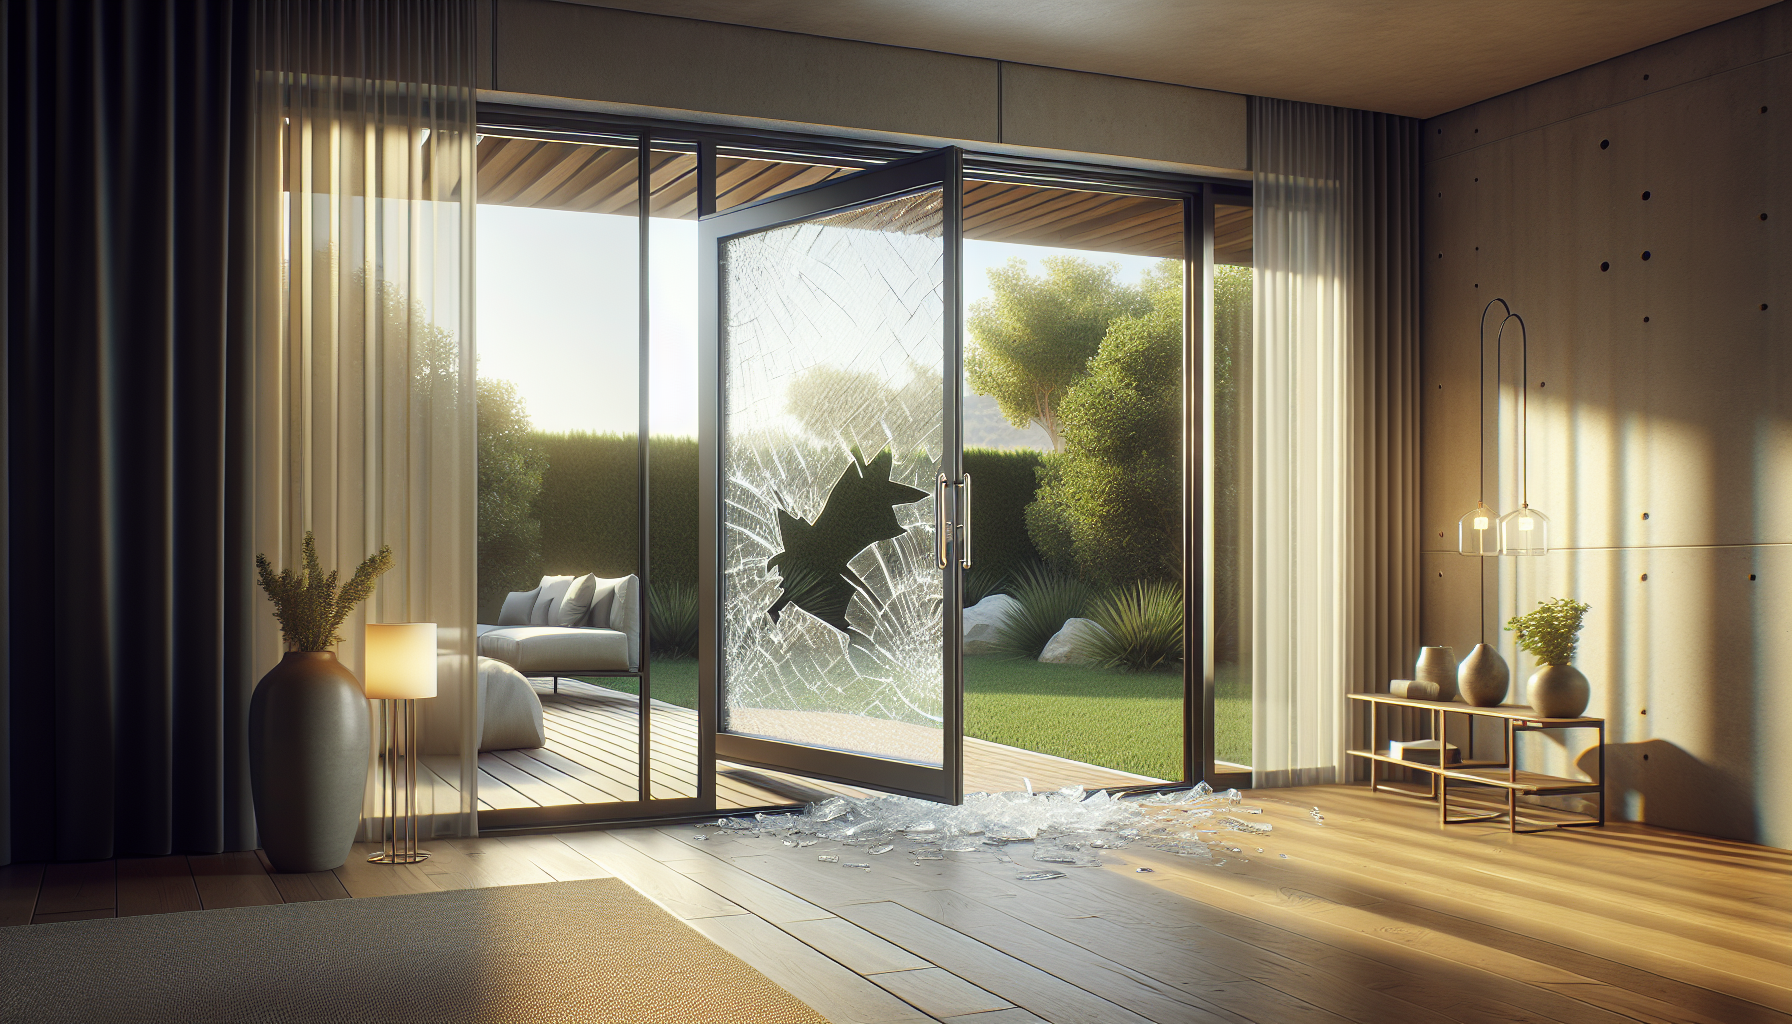
A damaged window or door can be the source of various issues, including excessive energy bills and water intrusion. Allow our experts to take care of the issue; no repair is too small or too large for us. The job will be done quickly and correctly the first time, whether you have a rotten frame or sill, cracked or damaged glass, a broken screen, a window that is not insulated, or broken hardware.
Galron Sliding can resolve all of your home repair issues with one phone call. Our factory-trained repair specialists arrive in a company van fully loaded with the tools and parts necessary to efficiently complete window or door repair. We will deliver a professional, secure, and dependable solution that will eliminate your “to-do” list!
Are We Talking About Andersen?
Determine whether you own an Andersen window or door. The Andersen emblem is visible on the glass of Andersen windows. Each sash will include the logo. The logo will be located in one of the glass’s corners.
It is permanently etched into the mirror and cannot be removed. It is so faint, and you practically have to search for it to notice it. The logo consists of a triangle with ” AW ” letters in the center. This mark indicates that Andersen manufactures your window. If the emblem is not visible on the glass, the window is not an Andersen.
Nota bene: There will be more letters and digits on the exterior of the triangle. These additional letters and numbers indicate who created the glass and manufactured it.
What Causes Windows to “Sweat”?
It may seem strange, but the nation’s expanding condensation problems result from progress. If you’re experiencing window condensation, it’s most likely because you live in a “tight” modern home that you can heat for a fraction of the cost of heating the house your parents lived in—a home that’s also cleaner and more; Comfortable! Condensation difficulties can also result from the increased usage of labor-saving equipment that makes life more accessible than it was previously. What are the best galron sliding doors?
This article discusses the “tight” home’s moisture problem. It makes recommendations for resolving condensation issues in existing homes and makes additional recommendations for those considering a new home. You will undoubtedly construct a “tight” house, and there are more things you can do to minimize excessive moisture during construction than there are in an existing home.
Andersen Door repair near me
From where do we get services of Andersen sliding glass door repair?
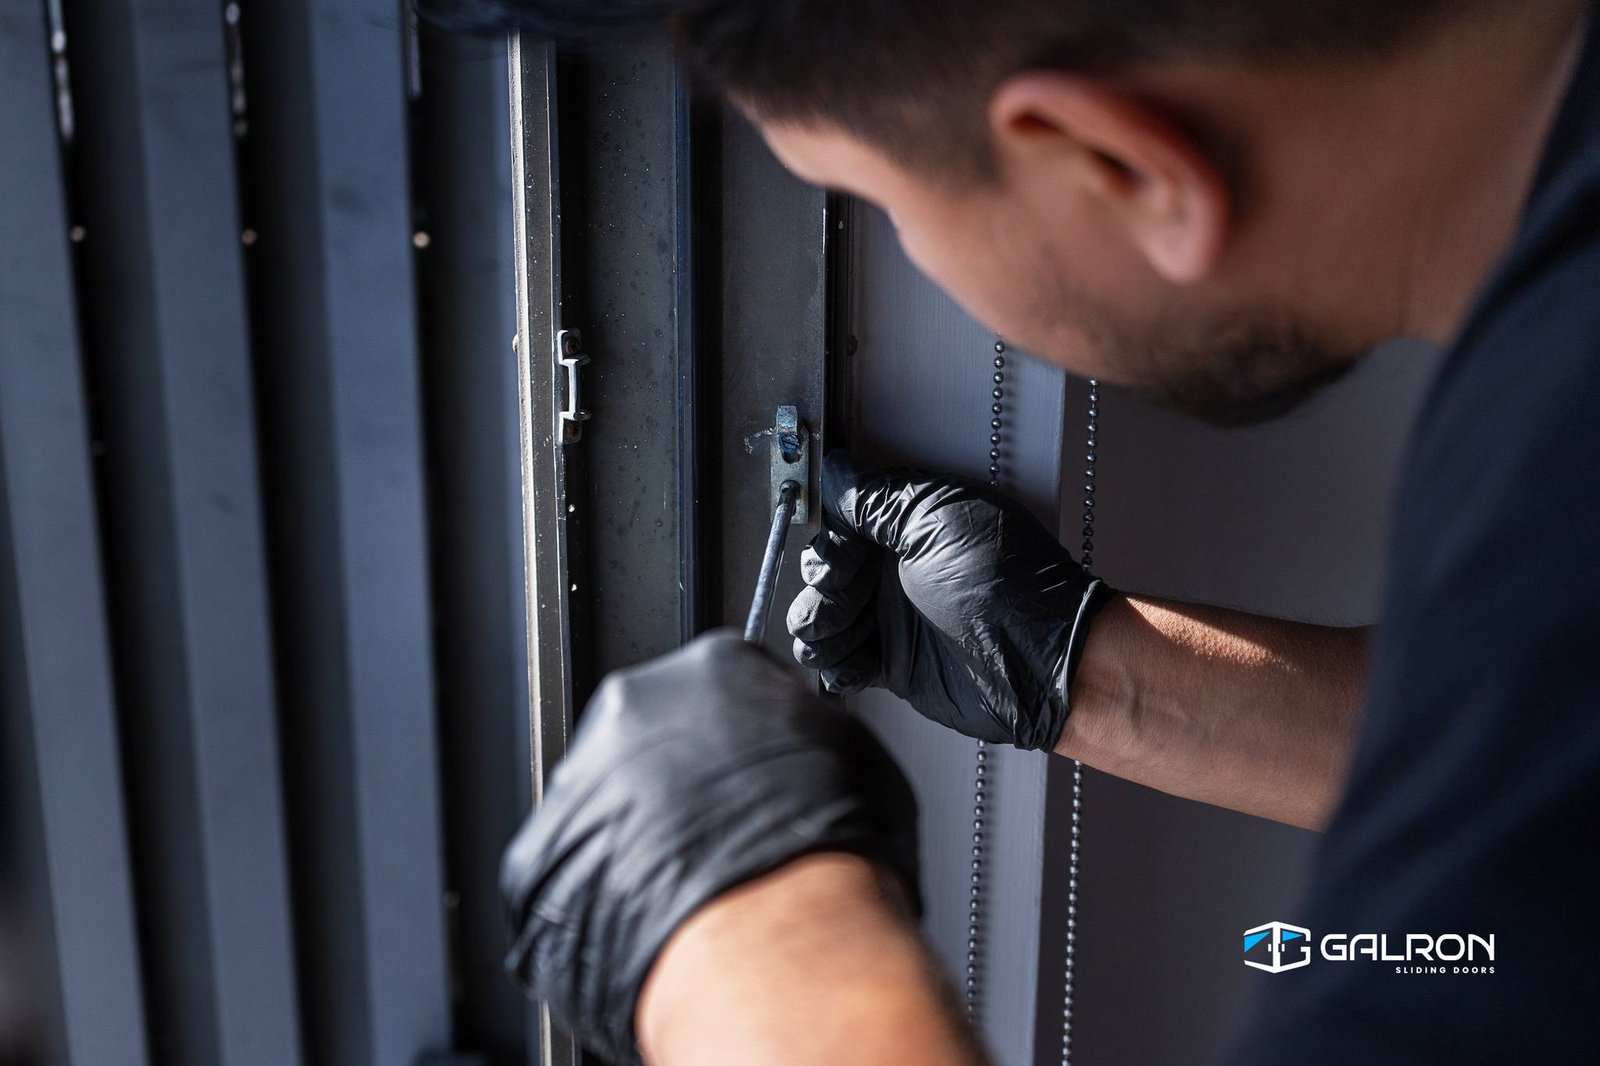
When it comes to repairing Andersen doors, no one compares to the experience and service provided by Galron Sliding doors. As factory-trained and approved Andersen door repair specialists, we can repair doors of all sorts, even those dating back to the 1950s!
We have the most outstanding customer satisfaction rating in the industry due to our exceptional service and unmatched expertise in Andersen products.
How to remove Andersen sliding door from the track
Is your sliding glass door leaking, draughty, or does it slam shut or open? Dismantling the door enables you to replace worn-out rollers and tracks, clean debris from the ways, or even install a new entry if necessary. Continue reading to learn how to remove a sliding glass door.
Sliding Glass Door Removal Tools
What you will require to complete the task is as follows:
- Screwdriver
- Saw that reciprocates
- Pry bar with a flat surface
- Materials
- Sheets of foam
How To Remove A Sliding Glass Door – A Step-by-Step Guide
To remove a sliding glass door, follow these simple steps.
The First Step Is To Prepare The Work Area
Foam sheets should be placed on the floor surrounding the area where you will be working. It protects the floor from scratches and prevents the glass door from shattering if dropped on the floor. Remove all furniture, rugs, pots, and other items from the work area.
Step 2. Inspect The Door’s Sliding Panel
Typically, patio glass doors feature a sliding and stationary panel. To begin, remove the sliding portion of the door to make room for the non-movable bit.
Most sliding doors have screws along their top and bottom edges on both sides. These are used to secure the entrance to the tracks. Determine the type of screwdriver required by inspecting the screws. In the majority of cases, a standard flathead screwdriver will suffice.
3. Disconnect The Door From Its Tracks
Stable sliding doors are fitted with tracks that allow the door to glide back and forth. Additionally, the majority include small but powerful rollers that enable the door to flow effortlessly. Over time, the ways may become warped or clogged with dirt, or the rollers may break, making it difficult to open and close the door.
Occasionally, all required to restore regular operation is to clean and lubricate the tracks. It may be necessary to remove the entire door and replace the tracks or rollers in extensive damage.
To detach the door from the tracks, counterclockwise spin the flathead screwdriver to loosen all of the fasteners. Reducing the screws lowers the doors, raises the bottom rollers and enables you to lift the door from the tracks quickly.
Lift and tilt the door to dislodge it from the lower tracks, then gently pull it out. Although these doors appear lightweight due to their glass and plastic or aluminum composition, they can easily weigh more than fifty pounds. As such, it is prudent to enlist the assistance of another person to lift and position the door in an out-of-the-way location safely.
Step 4: Dismantle The Screen Door
Certain types of glass patio doors include a detachable protective screen. Lift the screen door from the outside and pry it free from the tracks once the sliding door is removed. If the door is secured with screws, remove the screws first and then lift it out.
Step 5: Remove The Fixed Panel
Typically, the stationary panel is secured in place by a stopper, which can be a block of wood or angled aluminum or linoleum brackets along the track’s top. If the plug is not immediately visible, it is most likely concealed beneath a sheathing attached to the door frame. Remove the sheathing with a flat prying bar to reveal the stopper. Remove the plug by unscrewing it and sliding the stationary panel along the track.
Check for any remaining screws that secure the door to the frame and unscrew them. While prying the door from the tracks, slide the door to the location of the sliding panel. Utilize a utility knife to remove any paint or debris accumulated along the trails. Finally, swivel the door inward and lift it off the tracks.