
Have you ever experienced the frustration of trying to open a screen door only to find it stubbornly sticking at the bottom? It’s like trying to push a boulder up a hill, except boulders don’t usually come with springs and rollers.
Trust me, I’ve been there, and I know how incredibly infuriating it can be. But fear not because, in this article, I’m going to share with you some simple yet effective solutions to get that screen door gliding smoothly once again. Why is the screen door sticking at the bottom?
Picture this: it’s a beautiful sunny day, and you’re eager to let the fresh air in, but as soon as you try to open your screen door, it’s like wrestling with a stubborn mule. It’s not just a minor inconvenience; it’s a battle of wills.
Well, my friend, I’m here to tell you that there’s hope. By following a few troubleshooting steps, you’ll be able to tackle that sticking screen door head-on and conquer it with ease.
So let’s roll up our sleeves, grab some tools, and put an end to this door-sticking madness once and for all.
Check for Misalignment
You’ll need to take a closer look to see if there’s any misalignment causing your screen door to stick at the bottom, and it can be frustrating when even the smallest misalignment can cause such an annoyance.
Start by examining the top and bottom of the screen door to see if it’s level. If the top is higher on one side than the other, or if the bottom is not sitting evenly on the track, then you may have a misalignment issue. This misalignment can occur over time due to regular use or from changes in temperature and humidity.
To fix the misalignment, you may need to adjust the screws or hinges that hold the screen door in place. Use a screwdriver or wrench to tighten or loosen the screws as needed. It’s important to make small adjustments at a time and test the door after each adjustment to see if it’s still sticking. Be patient and take your time to ensure that you get the door aligned properly.
Once you’ve made the necessary adjustments, move on to the next step of cleaning the track and rollers.
By addressing any misalignment and cleaning the track and rollers, you can ensure that your screen door operates smoothly and no longer sticks at the bottom. Taking the time to properly align the door and remove any debris will save you from the frustration of a sticking screen door.
Clean the Track and Rollers
When it comes to cleaning the track and rollers of a screen door, there are two key points to focus on. Firstly, it’s important to remove any dirt and debris that may be causing the door to stick or not slide smoothly. This can be done by using a brush or vacuum to clear out any buildup.
Secondly, it’s essential to lubricate the rollers to ensure they can move freely along the track. Applying a lubricant such as silicone spray or WD-40 will help to reduce friction and improve the door’s functionality.
Remove Dirt and Debris
By thoroughly sweeping the track and removing any loose dirt or debris, you’ll be able to create a smoother surface for the door to glide on. This simple step can make a big difference in the functionality of your screen door, allowing it to open and close effortlessly.
Once you’ve finished sweeping, you can move on to the next step of lubricating the rollers, which will further enhance the door’s smooth operation.
After sweeping away the dirt and debris, it’s time to give your screen door a little TLC by lubricating the rollers. This will ensure that the door glides effortlessly along the track, without any sticking or resistance.
Using a silicone-based spray lubricant, apply a small amount to each roller, making sure to cover the entire surface. This will help reduce friction and allow the rollers to move freely, even with the weight of the door.
By taking the time to clean and lubricate the rollers, you’ll be able to enjoy a screen door that operates smoothly and effortlessly, without any annoying sticking at the bottom.
Lubricate the Rollers
To enhance the smooth operation of your screen door, it’s time to show some love to the rollers by giving them a good lubrication. Over time, dirt and debris can accumulate on the rollers, causing them to stick and make it difficult to open or close the door. By lubricating the rollers, you can ensure that they glide effortlessly along the track, making it much easier to use your screen door.
To lubricate the rollers, start by cleaning any dirt or grime that may be present. Use a brush or a cloth to remove any debris from the rollers and the track. Once the rollers are clean, apply a lubricant specifically designed for doors and windows. Spray the lubricant onto the rollers and the track, making sure to cover all areas evenly. Move the door back and forth a few times to distribute the lubricant and ensure that it reaches all parts of the rollers.
Replace Worn-Out Rollers
When it comes to fixing a screen door that is sticking at the bottom, it’s important to identify any roller damage. You can do this by inspecting the rollers for signs of wear and tear or any other visible damage.
Once the damage is identified, the next step is to remove and replace the worn-out rollers with new ones. This will help ensure smooth and effortless sliding of the screen door.
Identify Roller Damage
Unfortunately, it looks like those pesky rollers on your screen door have taken quite a beating. Over time, rollers can become worn out and damaged, leading to a sticking screen door. It’s important to identify the specific roller damage before attempting to fix it.
In order to identify roller damage, there are a few key signs to look out for. First, check if the rollers are misaligned or wobbly. This could indicate that they are worn down or have become loose. Second, inspect the rollers for any visible signs of wear, such as cracks or chips. Lastly, try sliding the screen door back and forth to see if it moves smoothly or gets stuck at certain points. If you notice any of these signs, it’s likely that your rollers need to be replaced.
Now that you have identified the roller damage, it’s time to move on to the next step of the process: removing and replacing the rollers.
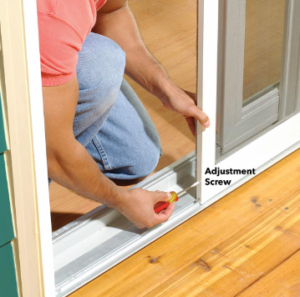
Adjust the Tension in the Spring
To fix the sticking of your screen door at the bottom, you can easily adjust the tension in the spring. Start by locating the tension adjustment screws on the top and bottom of the door. Using a screwdriver, turn the screws clockwise to increase the tension and counterclockwise to decrease it.
Make small adjustments at a time until you find the right tension that allows the door to glide smoothly without sticking. Once you’ve adjusted the tension in the spring, you can move on to installing a door sweep to prevent drafts and improve the door’s performance. Screen door repair is a valuable service that addresses issues such as torn screens, damaged frames, or malfunctioning components, restoring the functionality and appearance of the door, and ensuring a pleasant and bug-free indoor-outdoor experience.
By adjusting the tension in the spring, you can ensure that your screen door opens and closes smoothly without any sticking at the bottom. This simple fix can save you the hassle of dealing with a door that constantly gets stuck, making it easier for you to enter and exit your home. With just a few turns of a screwdriver, you can have your screen door operating like new again.
Install a Door Sweep
To install a door sweep, the first step is to measure and cut the sweep to the correct size. Once the sweep is cut, it can be easily attached to the bottom of the door using screws or adhesive.
Installing a door sweep is a simple and effective way to prevent drafts and keep insects and debris from entering your home.
Measure and Cut the Sweep
Once you have these measurements, it’s time to cut the door sweep to size. To cut the door sweep, use a pair of sharp scissors or a utility knife. Lay the sweep flat on a sturdy surface and align it with the measurements you took earlier. Carefully cut along the marked lines, making sure to keep a steady hand. Take your time and double-check the measurements before making any cuts. Screen door roller replacement is a practical solution that restores the smooth gliding motion of your door, allowing for easy opening and closing while preventing any unnecessary resistance or damage to the track.
Once the door sweep is cut to size, you can move on to the next step of attaching it to the screen door. With your perfectly measured and cut door sweep in hand, it’s time to attach it to the screen door and say goodbye to that pesky draft.
Let’s move on to the next section about how to attach the door sweep and complete the installation process seamlessly.
Consider Weatherstripping
To install weatherstripping on your screen door, start by measuring the length of the gap that needs sealing. Use a tape measure to accurately determine the size of the gap.
Once you have the measurement, cut the weatherstripping material to the appropriate length. Make sure to leave a little extra length to ensure a proper fit.
Next, clean the surface of the screen door where the weatherstripping will be installed. Use a damp cloth to remove any dirt or debris that may prevent the weatherstripping from adhering properly. Allow the surface to dry completely before proceeding.
Now, peel off the backing of the weatherstripping and carefully press it onto the surface of the screen door. Make sure to align it with the gap that needs sealing. Use your fingers to firmly press the weatherstripping into place, ensuring that it adheres securely. Repeat this process for the entire length of the gap, making sure there are no gaps or overlaps in the weatherstripping. Read why screen door not closing all the way?
Once the weatherstripping is installed, test the screen door by opening and closing it to ensure a proper seal. If there are any areas where the weatherstripping doesn’t adhere properly or gaps still remain, reposition or replace the weatherstripping as needed. Remember, a tight seal is important to prevent drafts, insects, and debris from entering your home.
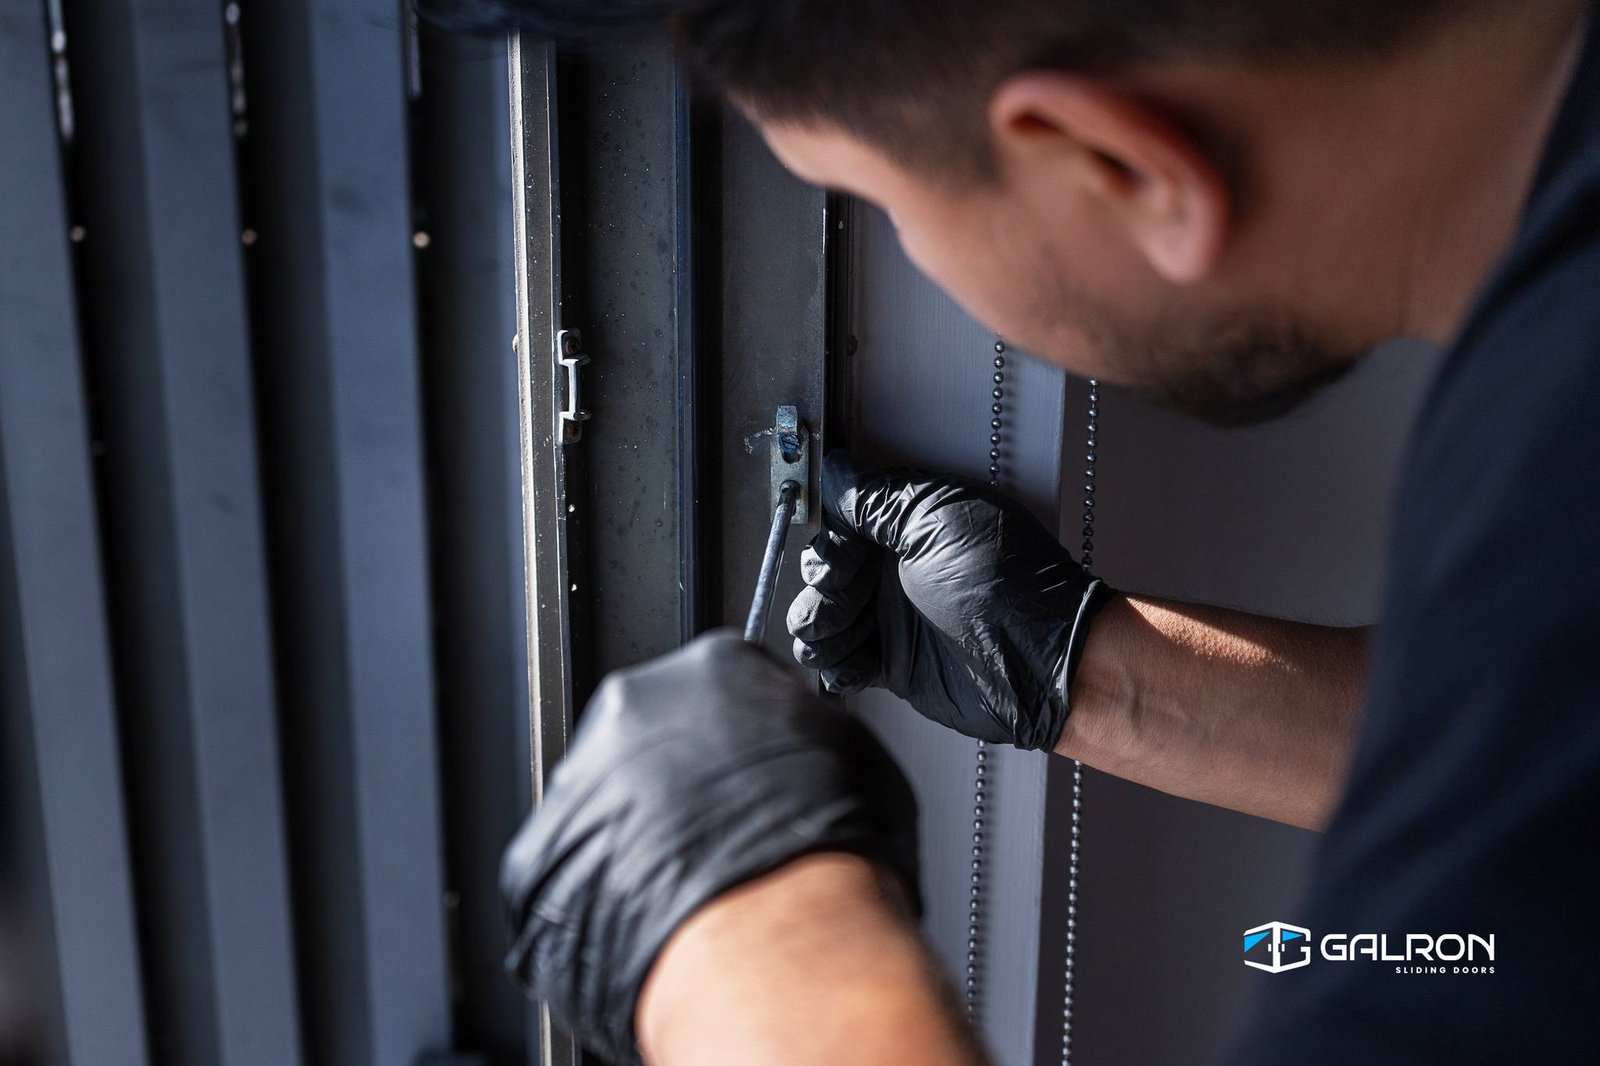
Call Us Today for Expert Screen Door Repair in Chicago, IL.
Is your French door sticking, not locking, or letting in drafts? Call Galron Sliding Doors for quality and professional sliding screen door repair in Chicago, IL. We specialize in French door repair, replacement, and installation. Our team serves the entire Chicagoland area including Evanston, IL. Whether it’s a simple fix or a full replacement, we have the tools and experience to get it done right. We restore your doors to smooth, secure, and stylish condition. Call us now to schedule your sliding door service.
By addressing any sticking issues, you can ensure the security and functionality of your screen door, ultimately contributing to the overall safety of your home. Also will know more about screen door how to measure them.